Set up campus-wide printing on Windows 11 & Windows 10
Click here to view a PDF version of these instructions
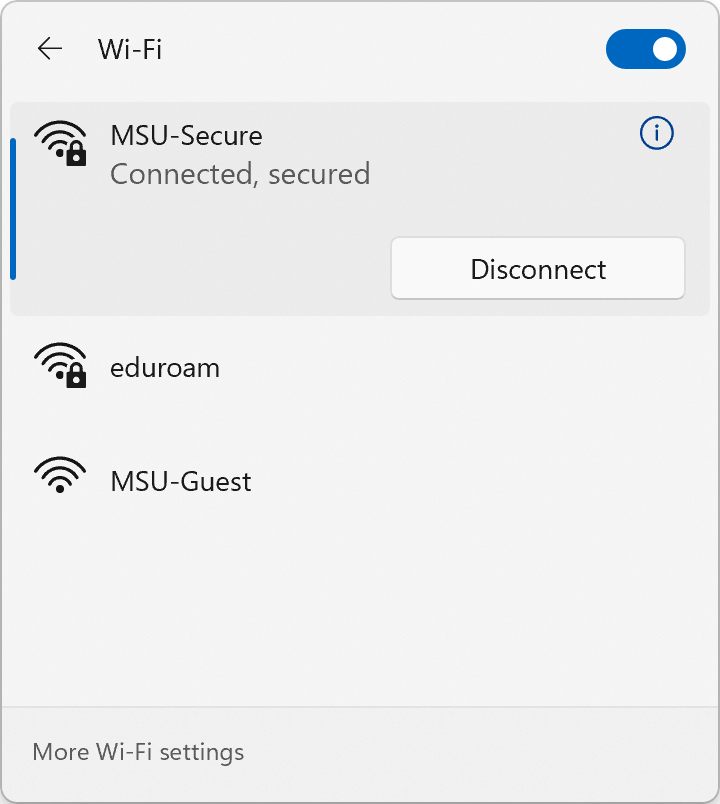
- Verify you are connected to the “MSU-Secure” Wi-Fi network. If you are not, follow
the instructions on this webpage: https://www.montana.edu/wifi/
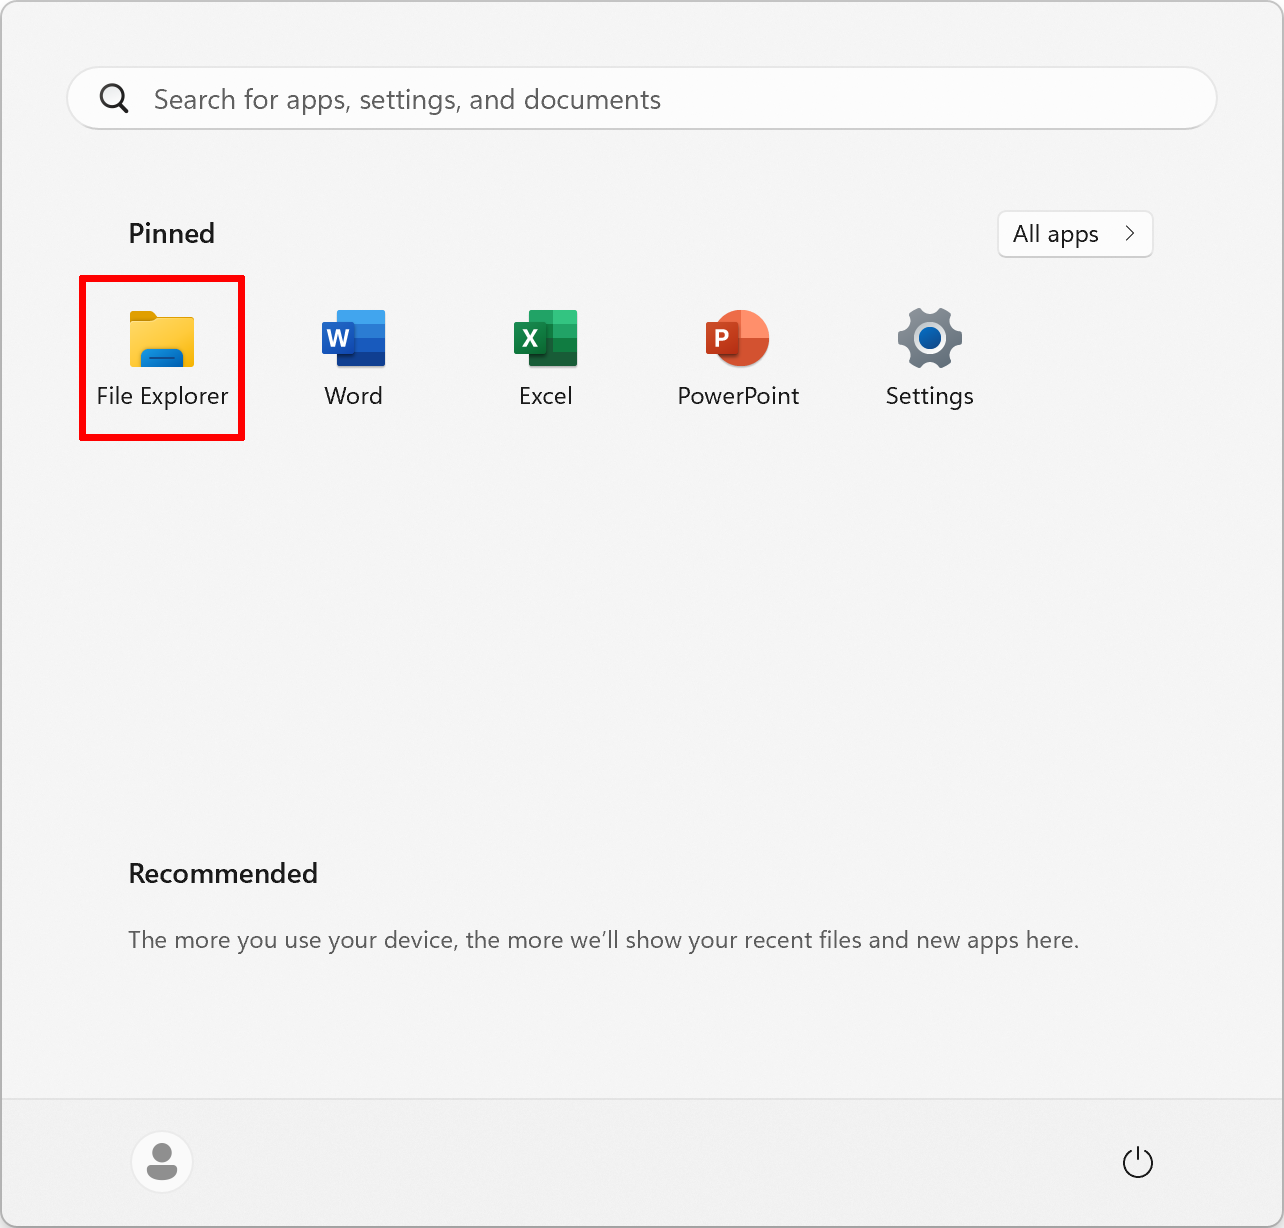
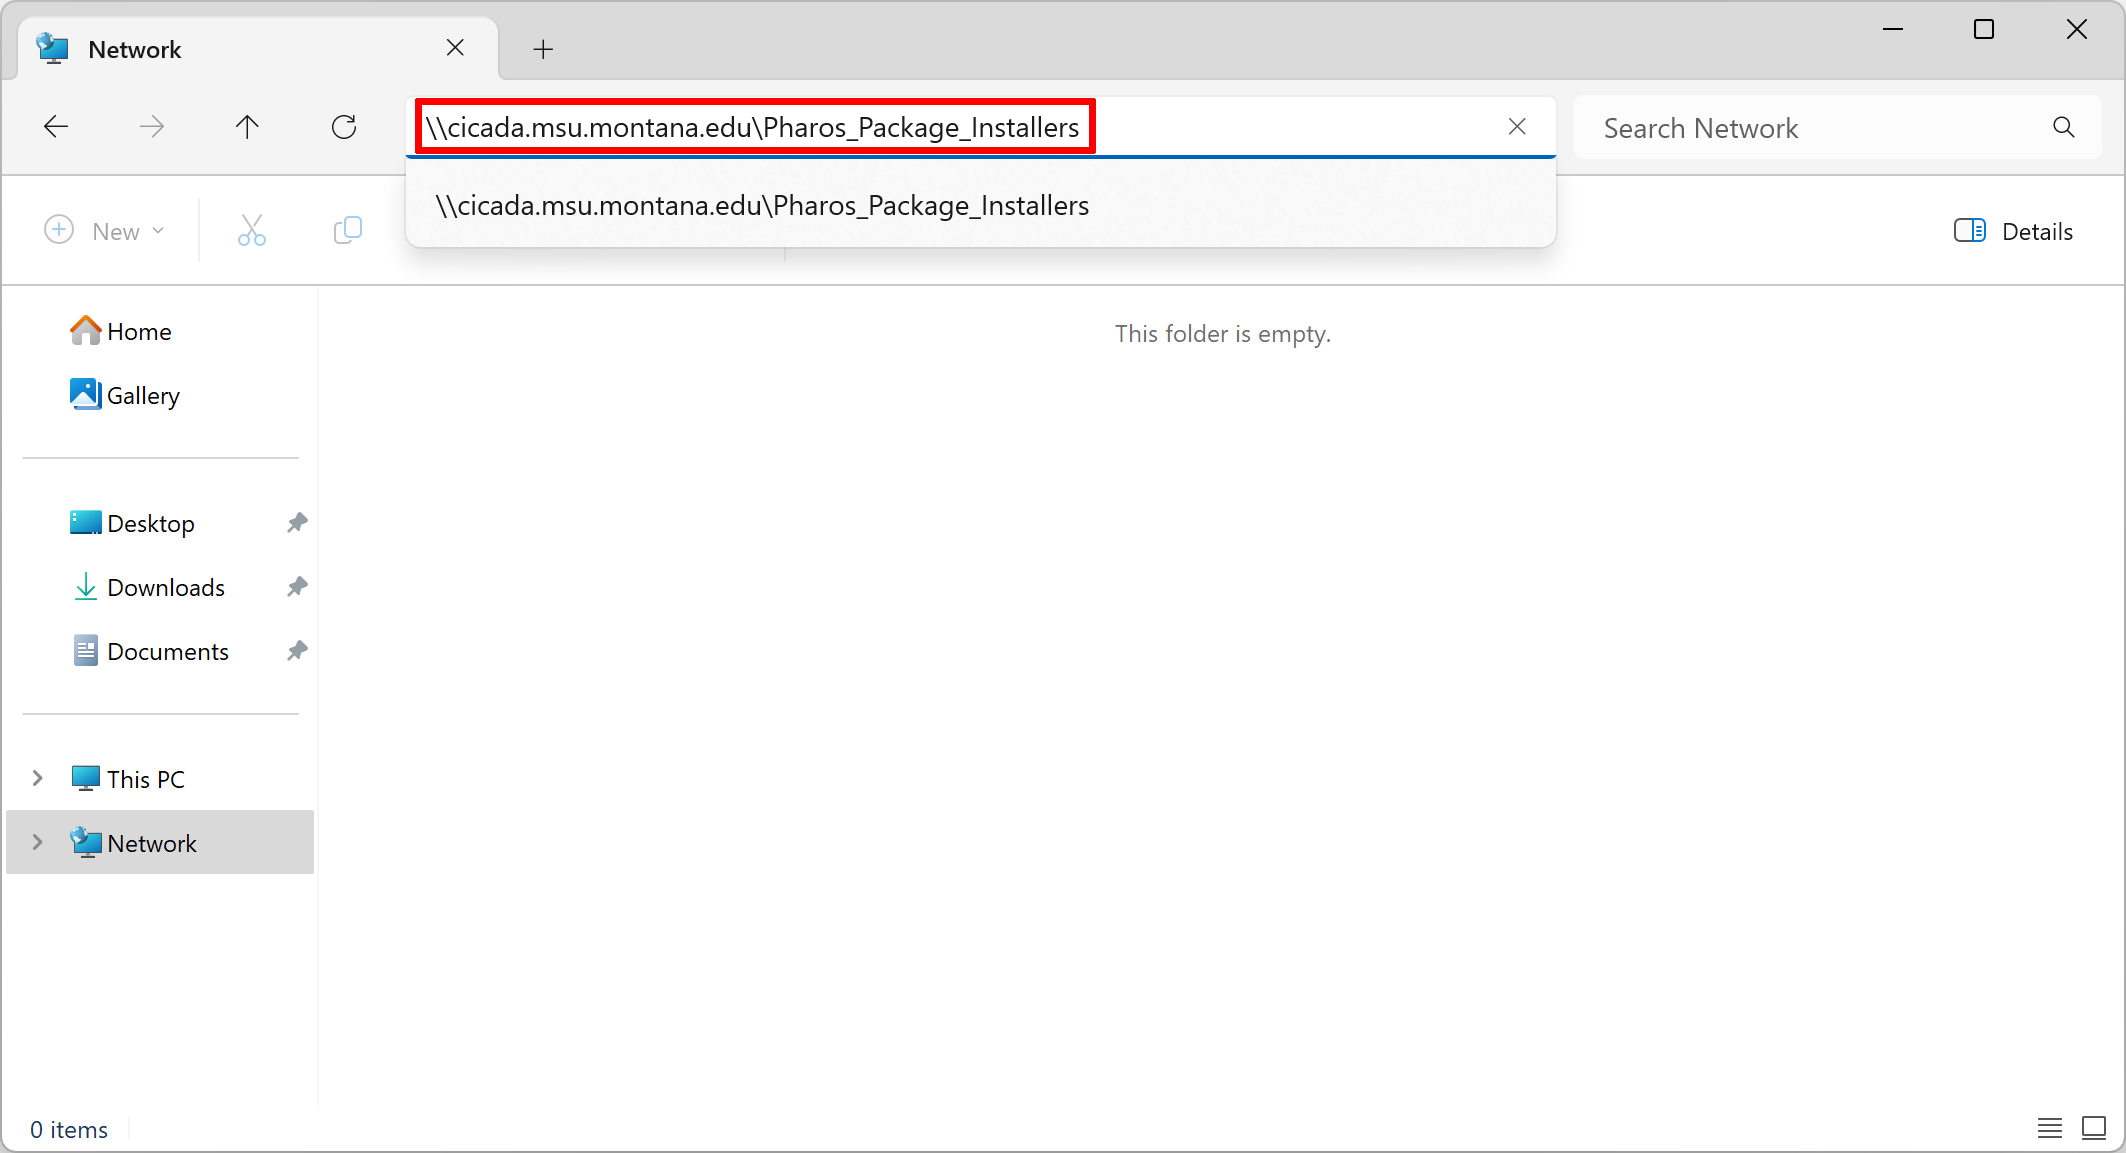
- Open File Explorer.
- Click on the blank part of the file address bar.
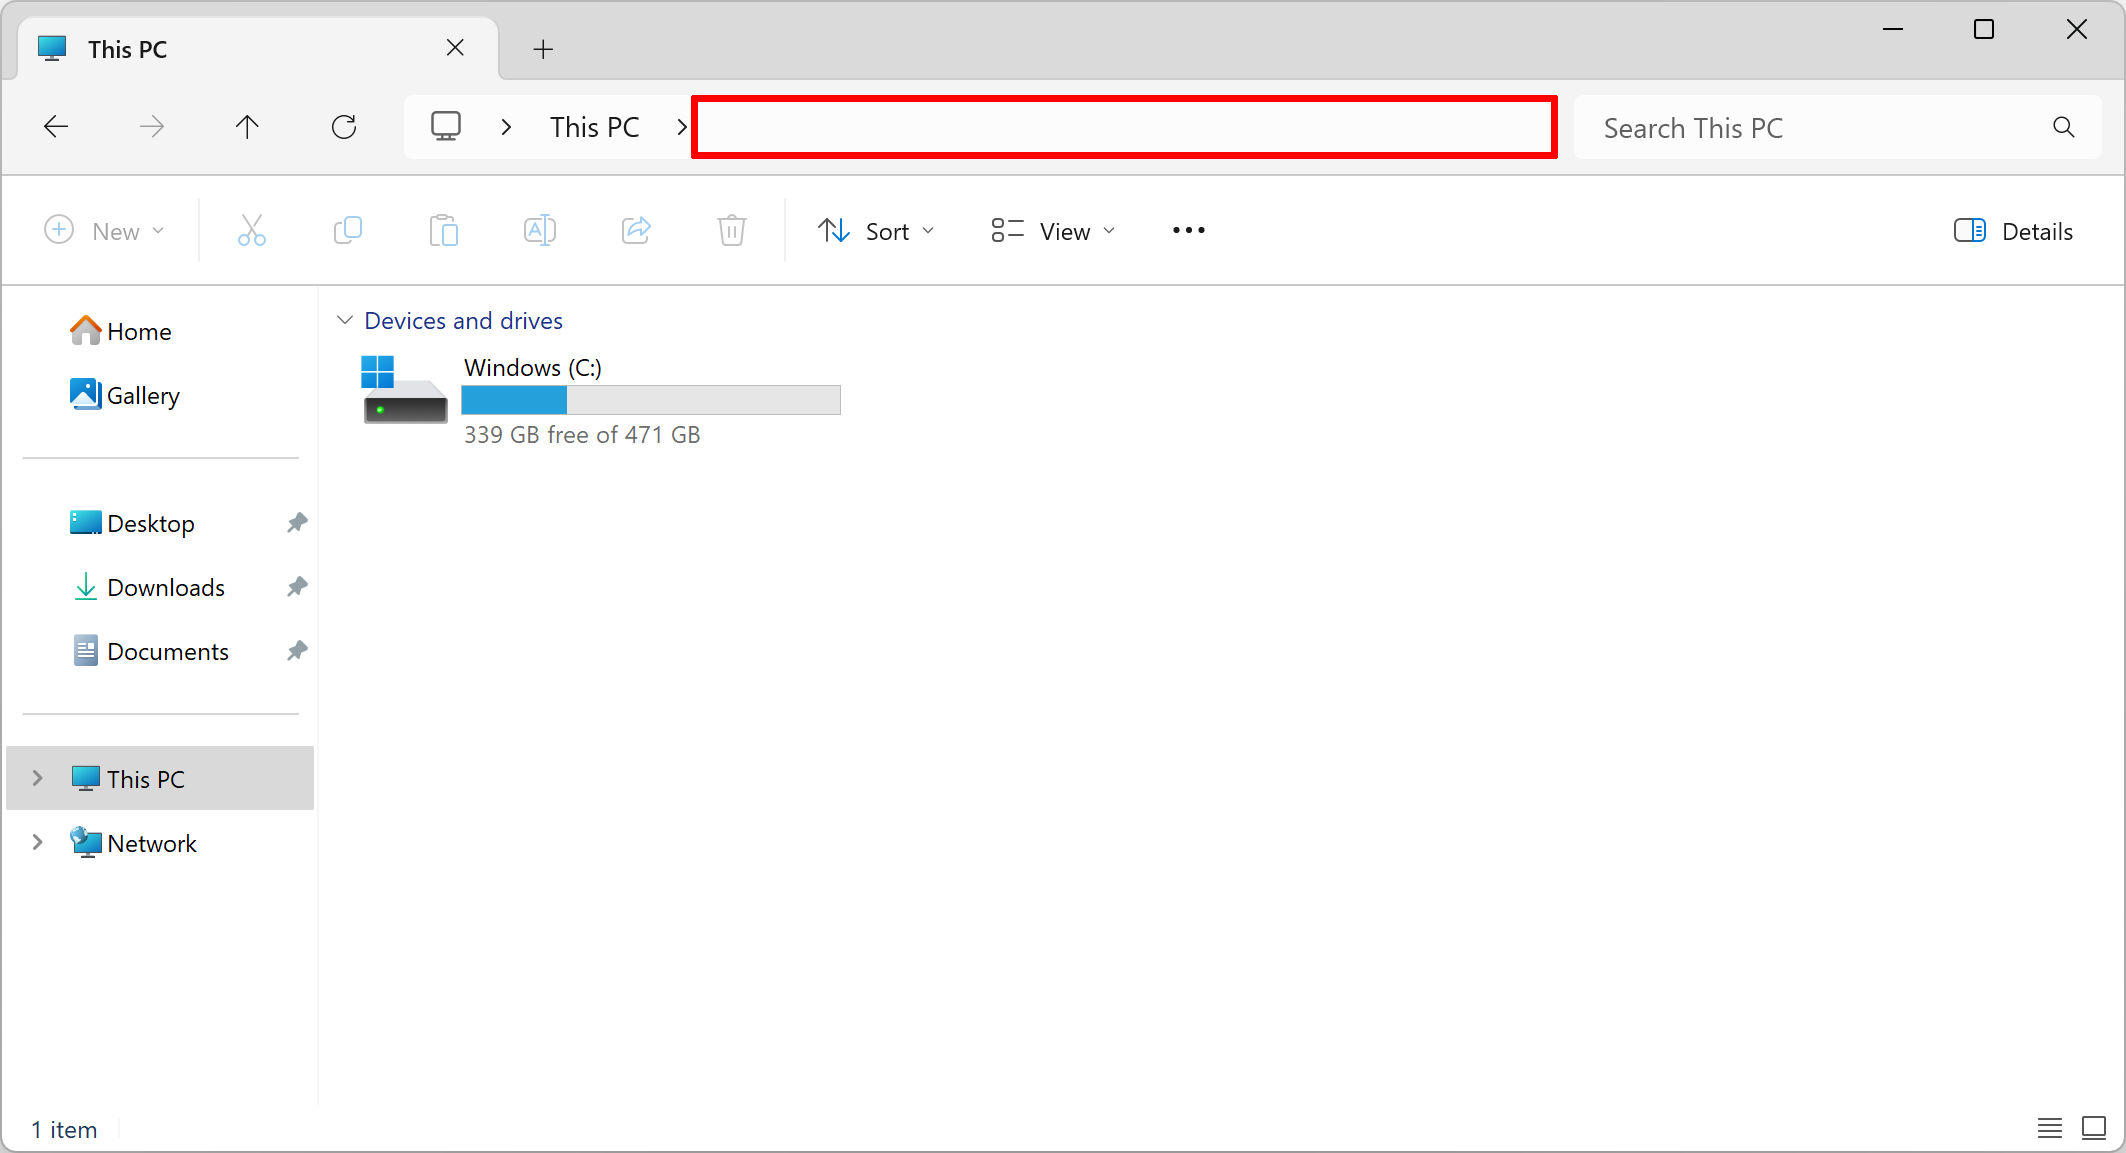
- Type "\\cicada.msu.montana.edu\Pharos_Package_Installers" into the file address bar
and press enter.
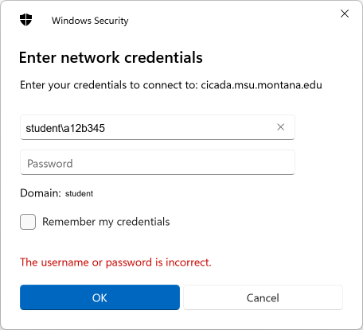
- If prompted for authentication, use the following credentials:
Username: student\NetID (replace “NetID” with your NetID)
Password: Your NetID password
- If prompted for authentication, use the following credentials:
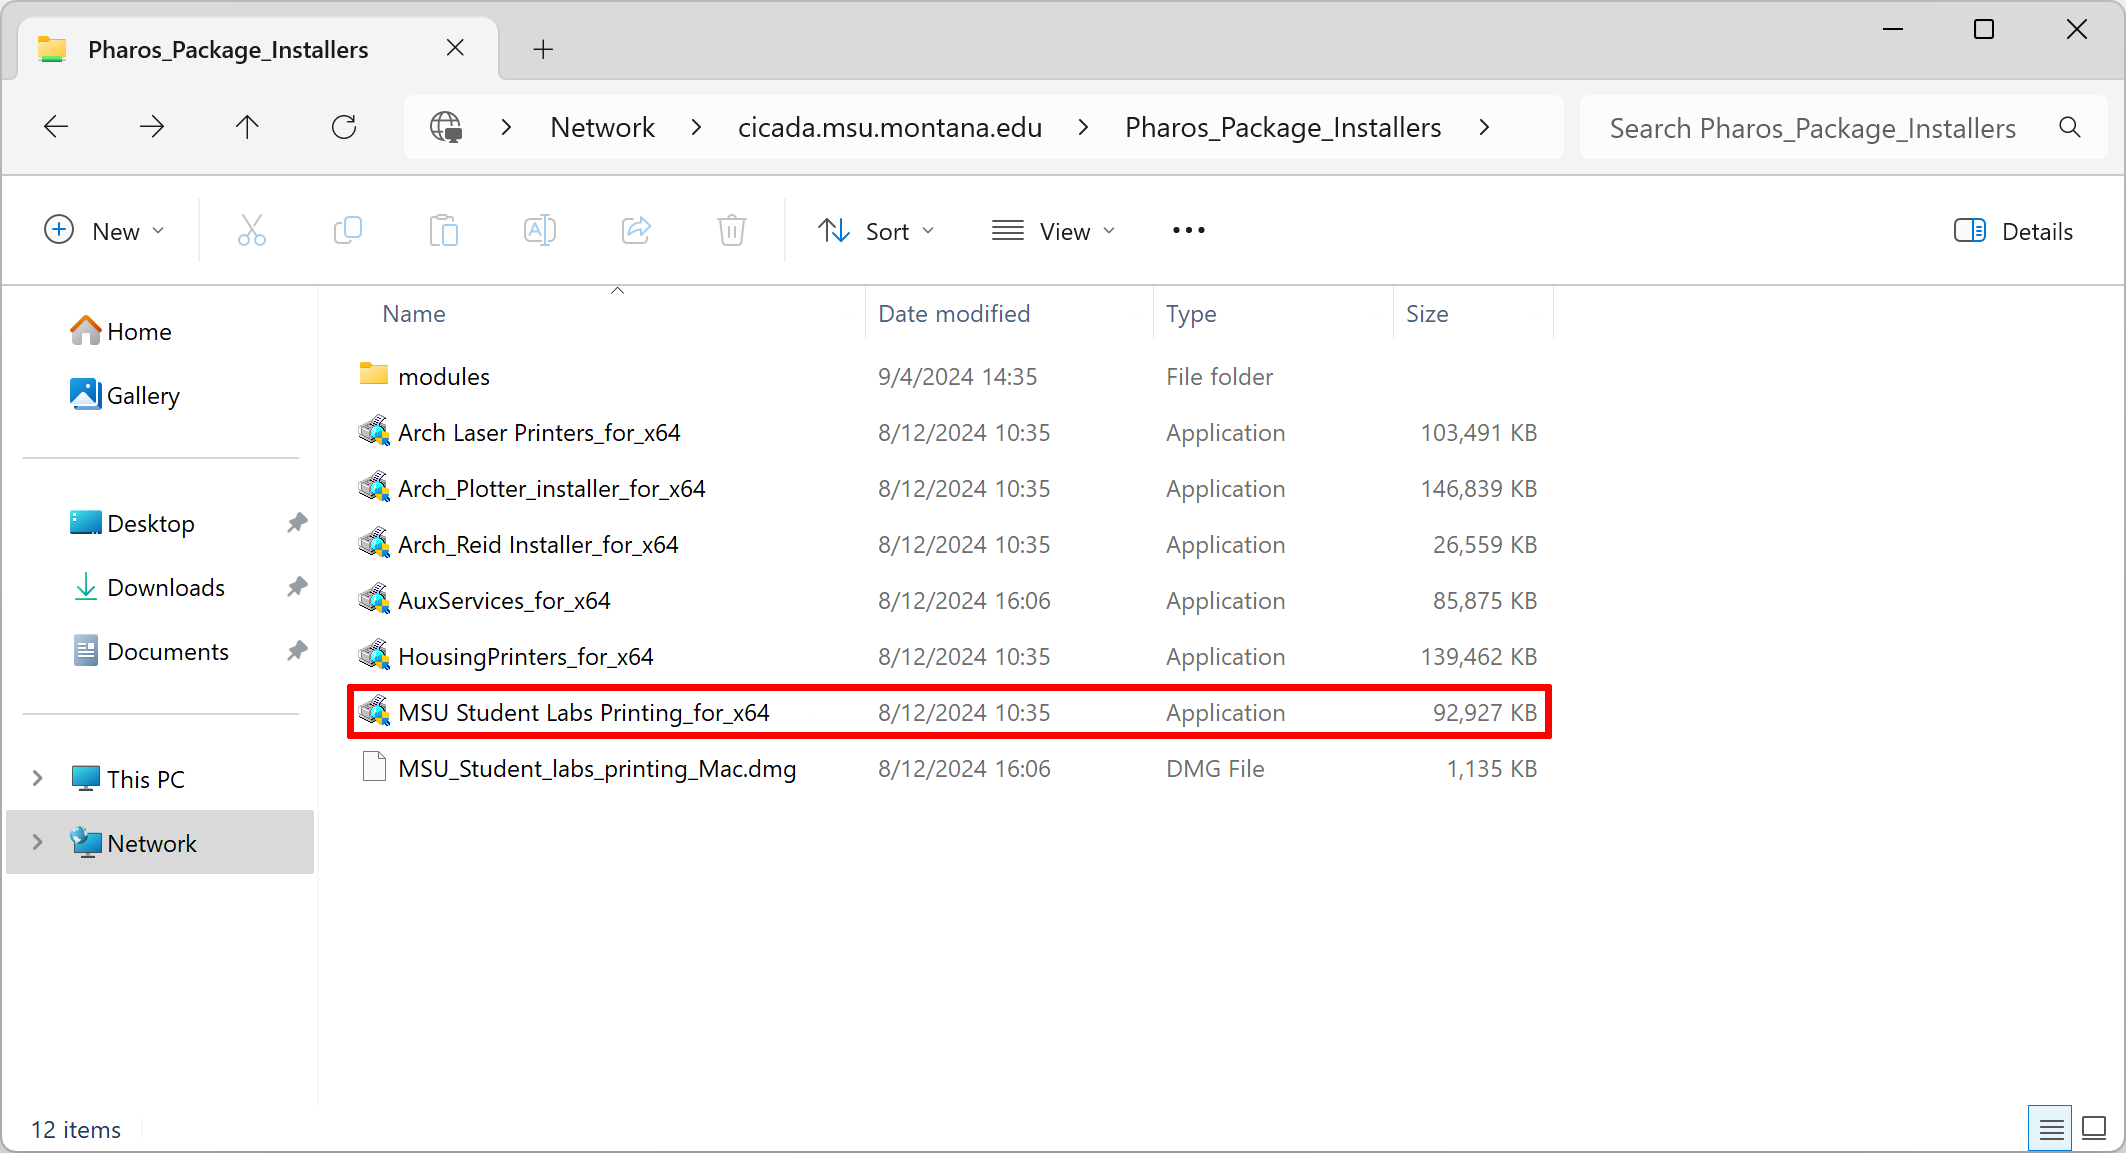
- Double click the file named “MSU Student Labs Printing_for_x64” to start the installer.
- Once the installer opens, you should be prompted with this screen:
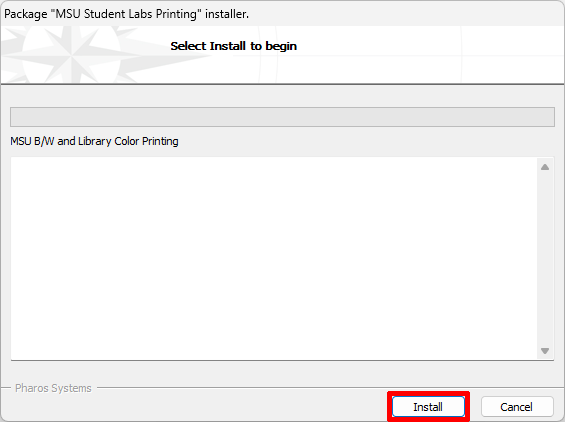
- If you do not see this window, it may have opened in the background. Check for the icon on the taskbar and click it
![]()
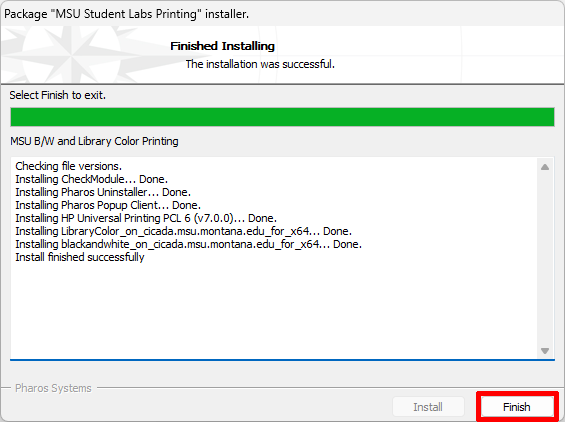
- Click the Install button and wait for the installer to complete. Once it completes
successfully, click the finish button.
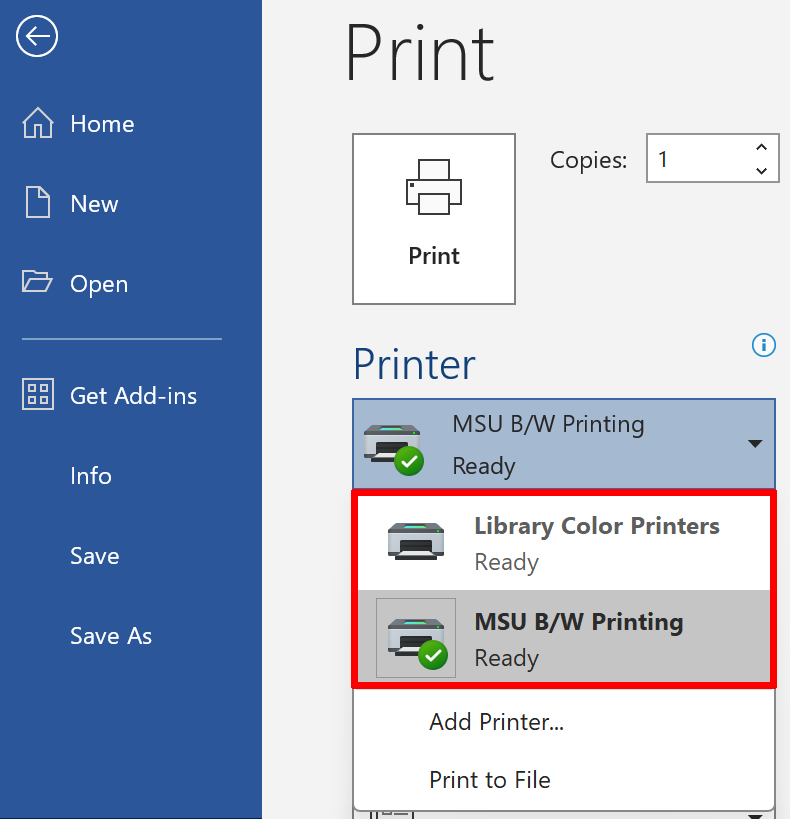
- You can verify that the printers were successfully added by trying to print something
like a Word document or PDF. Ensure both “MSU B/W Printing” and “Library Color Printers”
show up.
